Irrigation
The Best System For our Plants And Your Garden
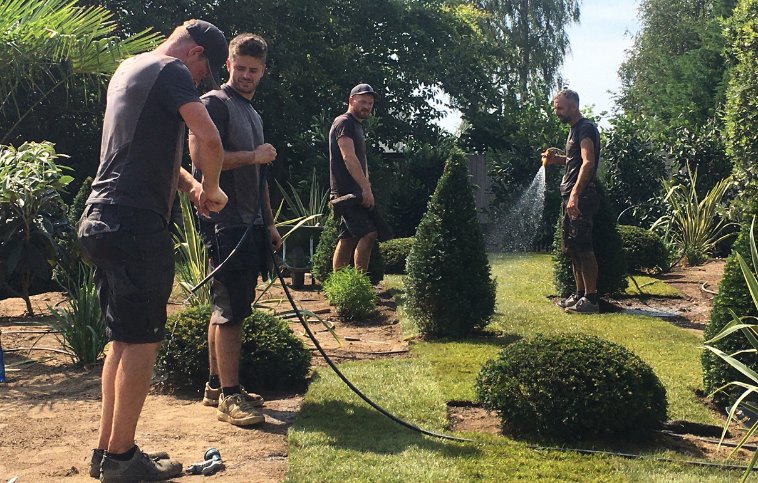
Welcome To The Irrigation Station
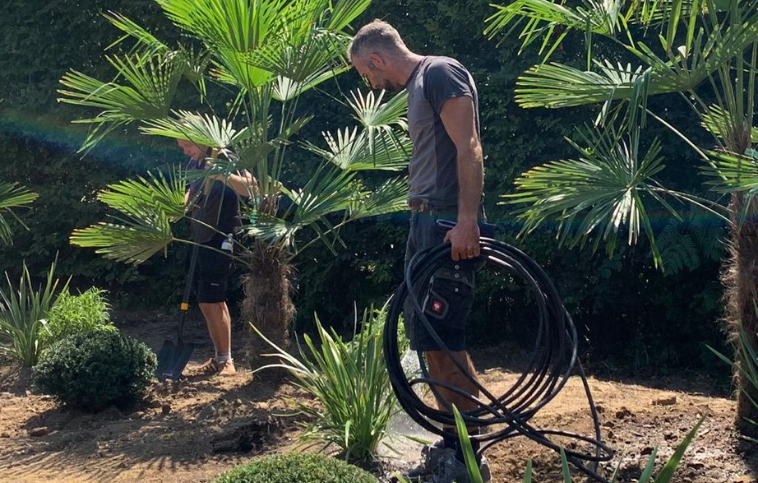
Welcome to our irrigation station. Here, we have all the essentials you need to build a complete system, extend one, or to repair and replenish your existing set up. We have been using this system of components on our nursery and installing them for our customers for over 20 years. We also advise you on what you need, how to install and how to fix things if you want to do it yourself. You can also buy the full range of garden irrigation system components from our online shop, which you can come and collect or have sent to your home. Here, Guy talks you through the basics of the system, our components and our services.
IRRIGATION FOR YOUR GARDEN
Irrigation is essential for a newly planted garden and this will remain the case until it has reached considerable maturity. When might that be? There’s no universal answer. Every garden is different due to its unique situation, plants and design and so are the correct watering requirements. Too much love, (by this we mean over-watering), can bring about a plant’s demise as assuredly as under-watering. Frosts, heatwaves, winds and heavy wet spells often turn up uninvited and all have a habit of upsetting the happiness of your plants.
However, an accurately calibrated system, installed by us for your plants specific needs, will allow you to manage your garden season by season. We will show you how to use the system and give you clear direction on the individual needs of your plants. This doesn’t mean you can switch off. The health of your garden and the successful operation of your system will rely on regular observation, a little technical know how and a smattering of metrological knowledge.

SUPPORT & GUIDANCE
Be assured however, that if we install your system, we’ll continue to offer you seasonal guidance should you need it. We will send you a reminder about turning off and protecting your system ahead of the first frost and when it’s time to get everything up and running again. If you live in an area with early frosts please keep a close eye on the long term weather forecast yourself. Should you require any further practical assistance and are unsure how to proceed please do contact us.
Please email us at [email protected]
Scroll a little further down for a set of bite sized demonstration videos with Guy, showing you how to set up and look after key components of the system we use. We’ll keep adding useful clips over time, so keep this page bookmarked.
VIDEO TIPS WITH ELIS- MANIFOLD & TIMER
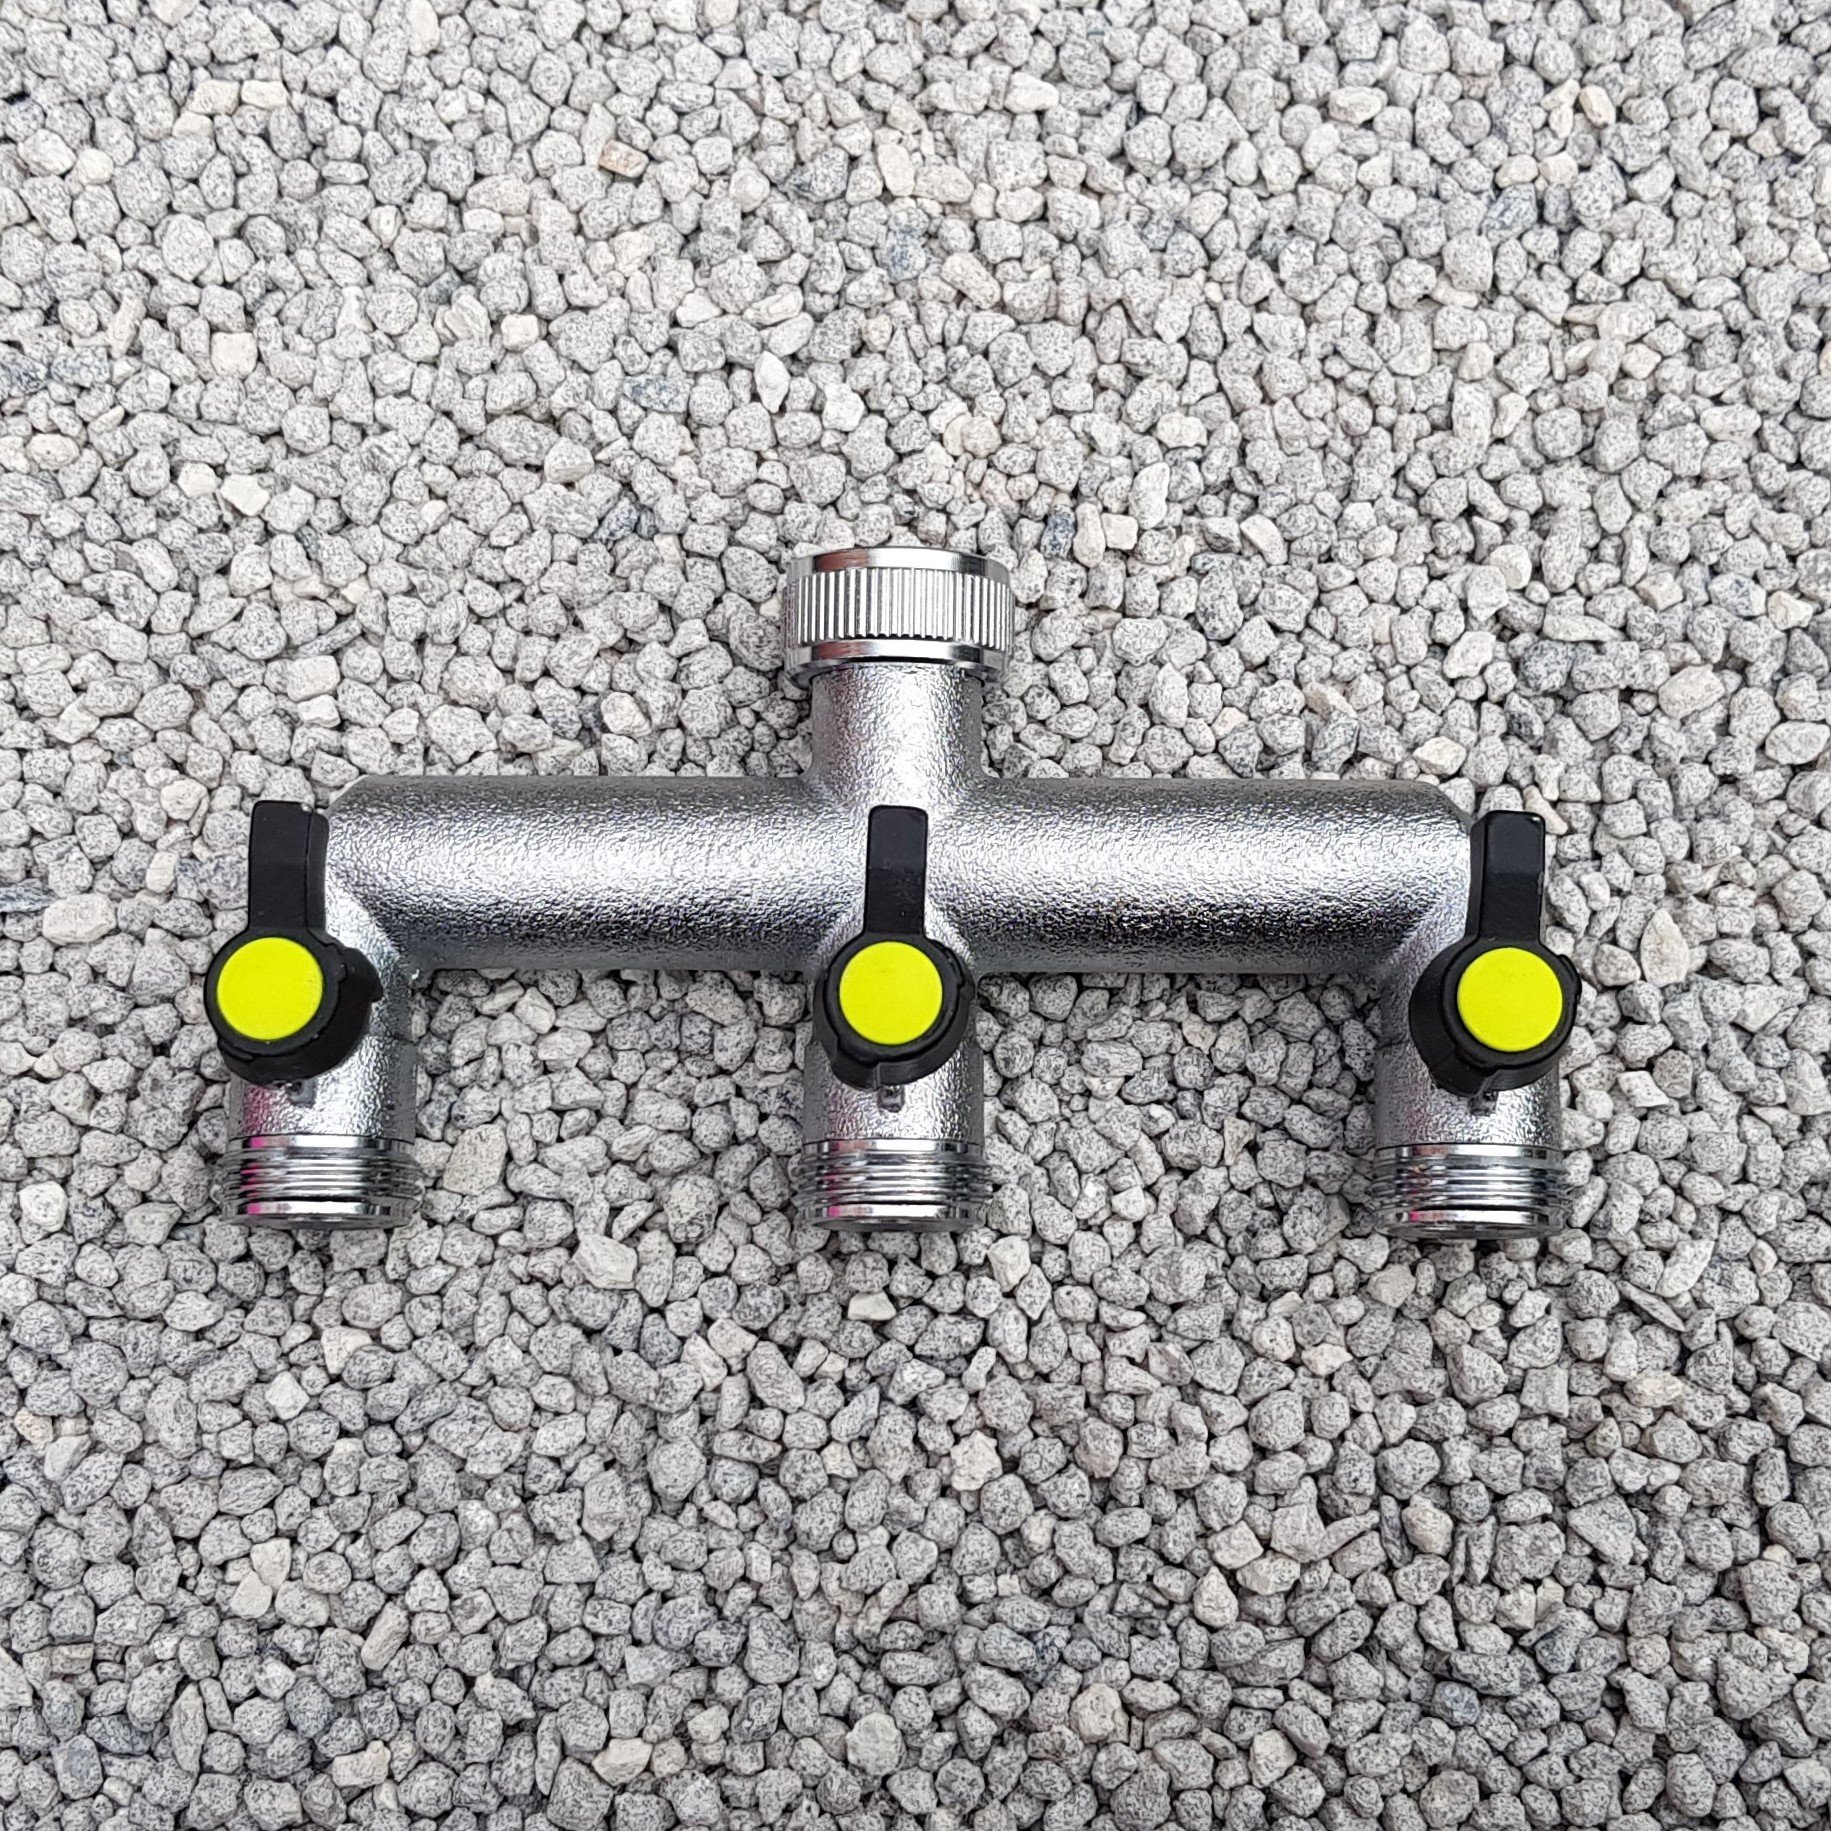
Setting Up Your Manifold & Timer
- Check all 3 of the manifold’s nozzle taps are turned off (to the right). This avoids the risk of getting wet before you’re all set up.
- Connect the manifold’s single nozzle directly to your mains outdoor water supply. This is most probably a tap.
- Connect the nozzle at the top of the timer to any of the 3 output nozzles on the manifold.
- Connect the main hose line of your system that feeds into your garden to the bottom nozzle of the timer.
- Turn on your mains outdoor water supply.
- Turn on the tap of the manifold nozzle you have connected to the timer.(Turn to the left as far as a vertical position.
- Make sure your mains supply is always turned on and that the correct manifold tap is also open so that it directs water to the timer.
Programming Your Timer
- Turn the wheel to SET CLOCK: Set your clock to show the current time of day (Greenwich Mean Time GMT) Use the + and – buttons to do this. Make sure you check the am or pm setting is correct.
- Wheel to START TIME: Set this somewhere between 5am and 6am to trigger the system to open up.
- Wheel to HOW LONG: Set the length of time you require the system to water your plants. The length of time will change significantly depending on the type of plants you have in your garden. If we have installed the system we will advise. However, you will need to keep a close eye on this yourself. Look at how your plants are responding and also consider any changing weather conditions. If they look too wet – reduce the time. If they look too dry – increase the time. Contact us if you need guidance.
- Wheel to HOW OFTEN: Set this to EVERY 12 HOURS. This means the system will run in two cycles – once at the time you set it for the morning (5.30am) and again at the same time in the evening (5.30pm). Our preferred method of watering is ‘little and often’ – a controlled and measured way to water for best results.
- Wheel to AUTO to allow the system to run as you have programmed.
Overwintering your manifold & timer
Overwintering the components of your system is a very important task to ensure they are not damaged during the winter months. The key bits to protect are the MANIFOLD and the TIMER.
- Turn off the outdoors mains supply to the manifold. This is most probably a tap.
- Check all 3 of the manifold’s nozzle taps are turned off (to the right).
- Unscrew the manifold’s single nozzle (at the top) from the outdoor mains supply.
- Unscrew the mainline irrigation pipe from the bottom nozzle of the timer. Leave you mainline pipe on the ground to drain down. It’ll do this of its own accord.
- Take the manifold and timer indoors for the winter.
- Turn the wheel on the timer to OFF.
- Take the batteries out of the timer so that they don’t corrode over the winter. Dispose of them. Replace with new batteries at the beginning of spring.
TESTING YOUR SYSTEM
To test at any time, wheel to AUTO and press the smaller MANUAL button (found below the + and – buttons). A raindrop will appear in the top right corner of the screen. The system will then turn on for 10 minutes, allowing you time to whizz round and check that it’s all working.
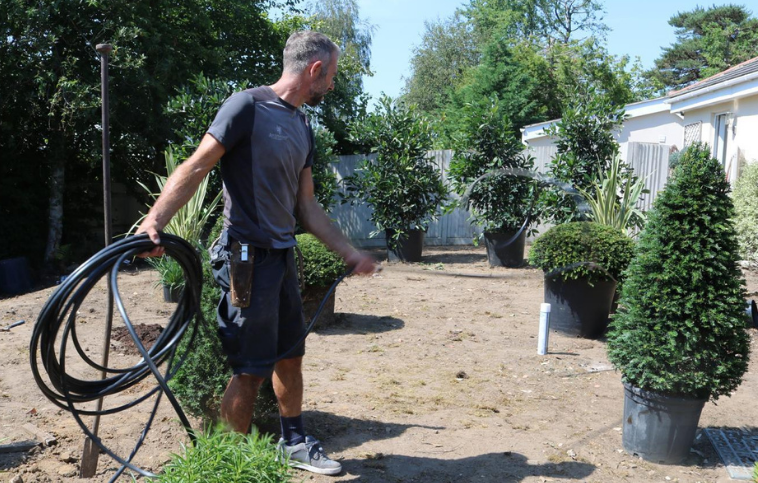
ADDING TO YOUR SYSTEM
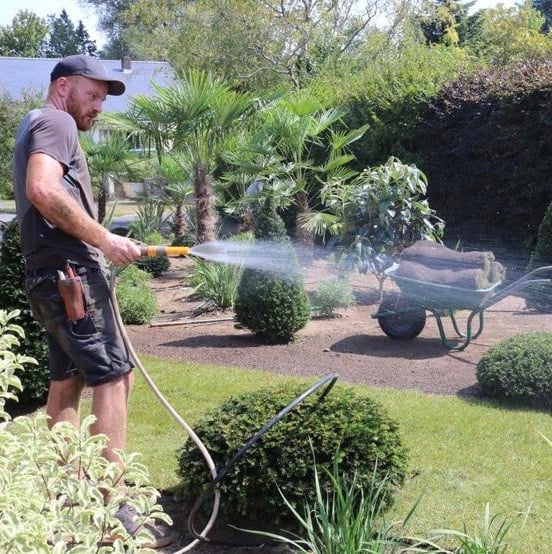
Connecting Emitter and Drippers
- Don’t do this while your system is running unless you like getting wet. Some people do – it can be refreshing.
- Use our key punch: press the barbed end firmly into the pipeline until you hear a satisfying pop noise – you’ve made a small hole.
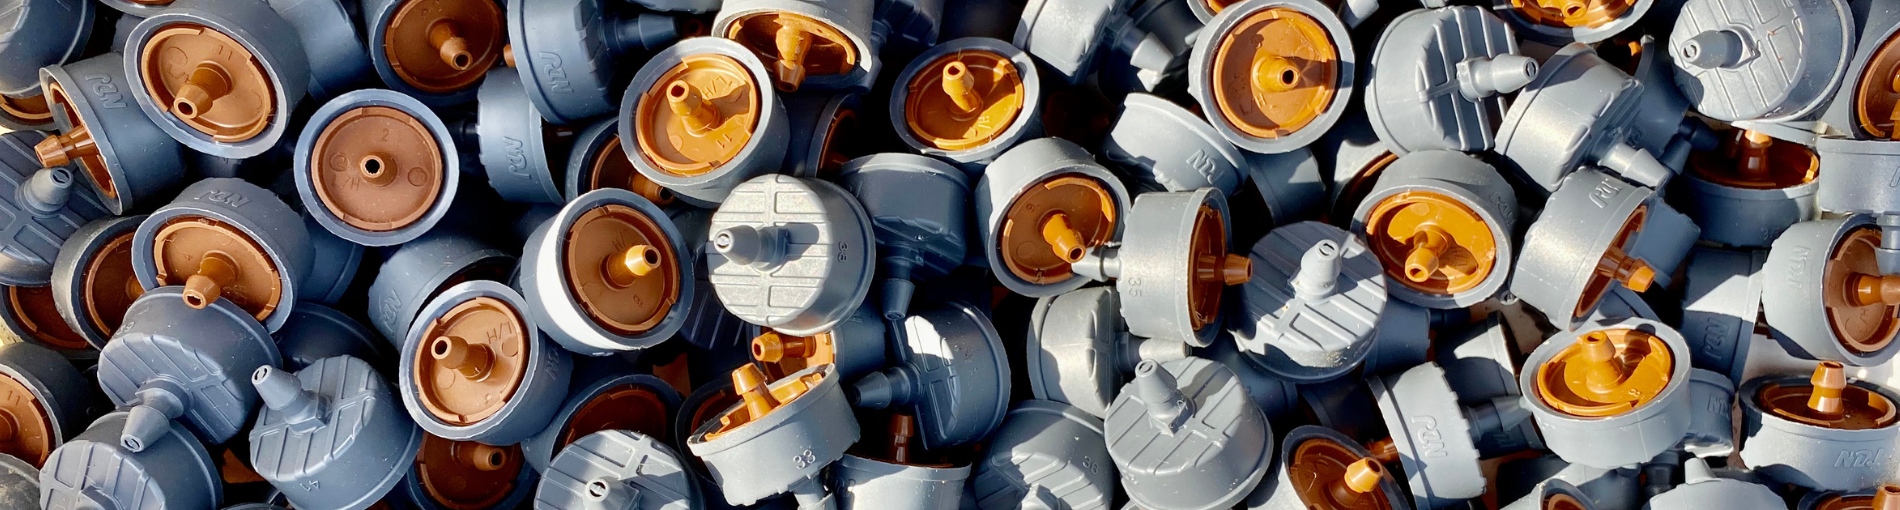
- Take an emitter: put the grey barbed end into the small hole. (Another satisfying click noise.)
- Cut a length of 4mm Drip Tube (we call it Spaghetti), measured to reach from the pipeline to the plant’s rootball. Attach one end to the brown barb of the emitter.
- Take a Prevo stake and attach the ‘nozzled end’ (not the ‘pointy end’) to the dangling free end of the Drip Tube / Spaghetti.
- Stick the ‘pointy end’ of the Prevo stake into the plant’s rootball.
- Whether you use one or two of these completed feed lines will depend on the type of plant and the mains pressure of your system.
Removing Emitters and Drippers
There are a number of reasons why you might need to remove emitters and drippers from your system in the developing lifecycle of your garden. You might need to reduce down the water flow or boost the pressure to plants further down the line if you have had a bit of a shuffle or added to your garden. Goof plugs, (our favourite bit of kit-terminology), are the answer.
- Pull out the emitter. It might take a bit of convincing – but do this manually to avoid any damage that gripping it with a tool might make.
- You might want to reuse the bits at a later date.
- Break off an individual Goof plug from the pack.
- Press Goof plug into the hole in the pipeline. Use the flat bit of your thumb. Again, it might need some pressure but the resulting pop sound is your reward (lovely). This also means you now have a sealed system and if needs be you can remove it to reinstate an emitter.
Further advice and practical support
If you have had your irrigation system installed by us we’ll send you a reminder email both when we think the first frost is coming and also before the return of Spring when it’s time to fire up your system again. It’s important that you also keep a close eye on the long term weather forecast in your area. It’ll contain useful tips and links aimed at helping you prepare for the specific season ahead. But you don’t have to leave it till then. If you need any assistance or guidance during the year please contact us.
Please email us at [email protected]
A SEASONAL TIMELINE OF TIPS
Please note that the following information should be used as a guide only. Every year is different and it’s important that you make decisions based on the weather forecast or as it presents its self to you and your garden in ‘real time’.
NOVEMBER – FEBRUARY
You need to keep an eye on the weather forecast and pay particular attention to any reported frosts.
In the event of a frost, the manifold (the bit attached to the tap) and the timer should be taken inside. Make a note of the setting it’s on and then ensure you remove the batteries from the timer. removing the manifold will drain the irrigation line of water, which will reduce the likelihood of winter damage.
Once this has been done, a gardener’s only real concern during the winter is a dry, windy spell. Wind in the absence of water can easily cause damage – bamboo is particularly vulnerable plant in these conditions. Once you’ve turned the irrigation off for the winter, should such weather hit we recommend manual watering. If you’re at all concerned, please contact us for advice.

IRRIGATION TIMELINE
FEBRUARY – MARCH
There is no specific date on which we recommend turning your irrigation back on. This will vary from year to year. You need to look for signs of warmer weather and the absence of frosts. Once you’re confident that the worst is over, dig out your manifold and timer from the drawer, replace the batteries and reset the timer (see instructions above, if needed).
If you notice anything along the irrigation system requiring repair (a leak, or no water reaching some of the plants, for instance), please contact us and we can arrange to visit your garden to carry our repairs. The best way to test the whole system is to run it on manual and check the end of the line. If there’s good pressure at the end , you can assume there are no leaks. This said, we do still recommend that you walk the line back to the tap to double check for any hidden issues.